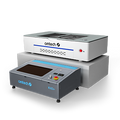
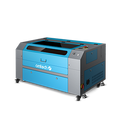
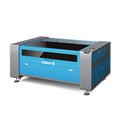
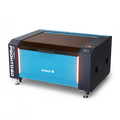
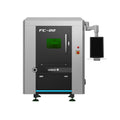
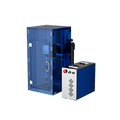
Real Fabric Engraving Hacks: Cut and Create Like a Pro with OMTech
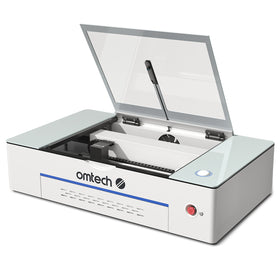
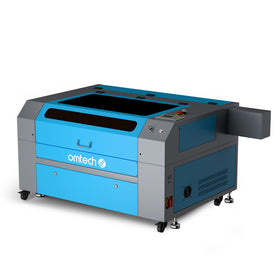
Have you ever wondered, "Can I really laser engrave on fabric?" The answer is yes — and with OMTech Laser, it is easier than you realize. These machines offer incredible precision and are designed to be user-friendly, making them a great tool for everyone, from hobbyists and crafters to full-time makers. In this article, we are going to share proven best practices for laser engraving and laser cutting fabric. It doesn't matter if you are working with a soft cotton fabric, a durable polyester, or even a textured leather — laser cutters will give you sharp cuts and crisp engravings with clean edges.
Simple DIY Fabric Laser Engraving: A Step-By-Step Guide Using OMTech
Are you ready to start using fabric and lasers to make your creative thoughts a reality? Here is an easy guide to fabric laser engraving for beginners just like you. Follow along in this step-by-step format and you'll be up and running on your fabric laser engraving projects in no time.
Step 1: Select and Prepare Your Fabric
Every successful project begins with the appropriate material. In the field of laser engraving not all fabric is created equal. You have options like cotton, polyester, and leather - all of which have their own properties and textures that will play a part in the character of your engraving. Make sure your fabric is clean, in good shape (without wrinkles), and dry when you go to load it on to your machine. Take the time to pre-wash, and iron the fabric to avoid distortion and/or smoke marks. Once you've prepped the fabric, lie it flat and secure it tightly to the laser bed so that it stays in place while engraving.
Pro tip: Consider the laser bed to be your canvas. If your fabric is bunched or allows any slack, then like painting on a moving canvas, your artwork might shift or distort.
Step 2: Design Your Artwork
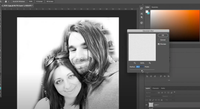
Now comes the fun part—designing! Use your preferred design software (LightBurn is a great pick) to create your image or pattern. Simpler, bold designs usually show up best on fabric since there’s less detail to get lost in the fibers. Save your design in a format compatible with your OMTech software and double-check the sizing to make sure everything fits perfectly within your material.
Imagine you’re screen printing a T-shirt—clean lines and bold shapes tend to work better than intricate shading.
Step 3: Dial in the Laser Settings
Next up, you’ll need to fine-tune your laser’s settings. This is where the magic—and precision—happens. Adjust the power, speed, and focus based on the fabric you’re using. For example, leather may need more power, while thin cotton might require a lighter touch. Don’t skip the test run! Use a scrap piece of the same material to run a quick trial and tweak your settings as needed.
Think of this like seasoning a recipe—you want to taste test before serving the whole dish.
Step 4: Start Engraving or Cutting
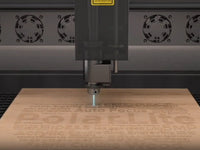
Once you’re confident your settings are spot-on, hit start and let the laser do its thing. Stand by during the process, but avoid making adjustments mid-run. Keeping an eye on the machine helps you catch issues early—like shifting fabric or unexpected burn marks—without interrupting the process.
Watching the laser in action can be pretty satisfying. It’s like a high-tech embroidery machine, stitching with light instead of thread.
Step 5: Finishing Touches
When the job’s done, carefully remove the fabric. If there’s any residue left behind (especially with leather or synthetic materials), gently brush it off. A soft toothbrush or cloth usually does the trick. You’ll notice clean edges and a crisp design—ready to be turned into a pillow cover, wall hanging, or even a custom patch for your next project.
Useful Tips for Even Better Results
Laser engraving on fabric opens up a new world of possibilities and although you will likely discover these as you experiment or refine your technique, here are some additional and useful tips to consider:
• As stated previously, experiment with fabrics – denim, felt, canvas, blends – you may be pleasantly surprised at how slightly different materials behave.
• Keep it flat and secure - a bunched corner can throw off an entire planned design.
• Always test - One small test cut could prevent wasting a large amount of material (and the frustration of messing up).
• Leather fans – when engraving on leather, allowing a slight pause between passes can allow more detail to come out without charred marks on the surface.
The good thing about OMTech machines, is that they are extremely user-friendly. Whether you are cutting your first piece of felt or engraving a logo on suede it is important to be consistent every time. Take note of all of your settings and your results - it's like a laser journal. After a while, you will have your own personalized library of go-to materials and settings.
Commonly Asked Questions
Q: Can I engrave or cut different types of fabric with OMTech Laser machines?
A: For sure! OMTech lasers are not picky and can cut and engrave many fabrics (cotton, polyester, leather, canvas, felt, etc.). Remember to adjust your settings, especially if you notice that the fabric thickness varies or the texture changes. Always run a quick test on a scrap of the same and keep in mind that once you engrave and cut they are permanent!
Q: What is the best method to prep fabric for clean engraves?
A: Use clean, ironed fabric that is also dry and wrinkle-free. Once it is ironed then it should be tight to the laser bed with no lint or dust. This way you’ll have the sharpest engraves and best detail.
Q: What do I do if I have scorch marks on the fabric?
A: With scorch marks, you should try to reduce the power or increase the speed of the engraving. Also, check your focus settings as your fabric type can impact the depth of the engrave. Fabric can often be compared to an iron, where you want to use less heat, think less is better especially since delicate materials can react heated conditions.


