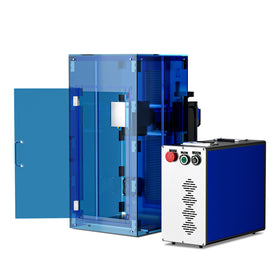
Transform Wood & Metal Engraving with Smart Laser Intensity
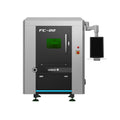
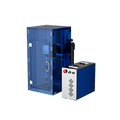
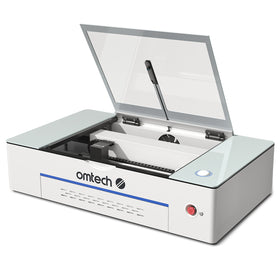
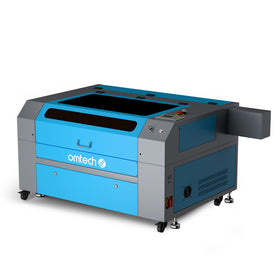
OMTech Laser Machines can provide an excellent combination of precision and ease-of-use for wood and metal engraving. An intuitive interface and adjustable laser power settings enables you to establish the engraving power and manage laser intensity regardless of whether you are working on delicate wood or strong metal engravings. This advanced technology offers optimal laser power for every project, ensuring both power for engraving and power for cutting are managed accurately for your creative needs.
Comprehending Laser Engraving Settings and Parameters for Wood and Metal
In beginning your laser engraving adventure, it is important to understand the basic laser engraving settings and parameters. OMTech laser machines come with a power setting guide that tells you how to select the right power output based on the material you are working with. Here’s what you need to know:
• Power Output: You want the power for marking and engraving to be suitable to your material, whether Marking wood with subtle engraving, or marking metal with a deep mark.
• Laser Power Settings: You should be able to use the provided presets, or set the power manually, to determine the correct power for wood and metal, while making sure the engraving power level fits your creative vision.
• Laser Power Control: You can manage and adjust power control laser use to accommodate fine details and distinct cuts.
• Increase or Decrease your Laser Power: You learn to increase the power output if deeper cuts are required. And if you want to reduce the power output to not burn your design.
A Step-by-Step Guide to Using Your OMTech Laser Engraving Machine
Beginning your laser engraving journey with OMTech is easy as 1, 2, 3. Whether you're engraving wood or metal, by following a few simple steps you can produce stunning work!
Step 1: Find Your Material
Select a piece of wood or metal that is of high-quality that works with your design. When selecting wood, you need a piece that is smooth and has a consistent grain on the surface. When you select metal, you want to make sure it will work with laser engraving and that it is clean of any coatings that would interrupt the laser process.
Step 2: Create Your Design
Use the design software of your choosing to create your artwork. Solid lines work best for laser engraving. Make sure to save your file in a style compatible with the OMTech Laser machine; this way you have control over the laser power settings and can easily adjust the engraving power level.
Step 3: Set Up the OMTech Laser Engraving Machine
Secure (aligned) your material to the engraving bed. Proper alignment is critical to ensure that each area of your design is in the perfect laser intensity. Reset the machine parameters and taking into account the suggested laser engraving parameters and settings for the material you are working with is a key step. Your engraving will benefit greatly from using the average laser power, it's important for getting the laser power right whether you imprint wood or metal.
Step 4: Fine-Tune and Start Engraving
Check the laser power adjustment options on the machine’s interface. This is where you modify the power for engraving. Use the power setting guide to set the engraving power level to a value that gives you the detail you desire without overburning. Watch the process carefully to ensure that the power output is working as expected, whether it’s cutting through wood or marking metal surfaces.
Step 5: Inspect and Finish Your Project
Once the engraving or cutting is completed, carefully remove your material and examine the quality of the mark. Clean any residue left on the material. If needed, you can adjust the laser power for wood and metal laser power settings for future projects. A bit of cleaning up and finishing touches, such as sanding wood edges or polishing metal surfaces, will result in a professional-looking piece.
Controlling Laser Intensity for Wood and Metal
OMTech Laser machines are manufactured with creative users in mind. Whether you are crafting personalized gifts, signs, or artistic panels, controlling the power output is necessary to give you the best overall results:
• Adjusting the power output to control the laser intensity: The machine can allows you to control the power output, so there is little difference from changing from subtle marking to deep cuts.
• Consistency of output: With discernable laser power adjustments for engraving, you'll be able replicate your results across multiple pieces of the same material, and ensure the consistency of results that look like they were produced in a professional environment.
• Easily adjustable settings: Use the preset settings for different materials, then adjust the laser intensity as needed. By learning how to increase and decrease laser output effectively, you do not have to box yourself into one style, you, your vision, and creativity can grow with each project.
Strategies to Improve Your Project Results
To really get the most out of your OMTech laser engraving machine, consider these helpful tips:
• Test as many power levels as needed, until you get the right laser power for each material.
• Always adjust the engraving power, in small increments - pay attention to how the engraving power affects the overall quality of the finished product.
• Use scrap pieces to finalize your settings prior to your actual design, to ensure you have the correct laser power.
• Keep a record of your laser power settings for wood, and for metal - this will help you reference back if you work with the same materials in the future.
Frequently Asked Questions
Q: How do I choose the correct laser power settings for different materials?
A: Start with the preset profiles provided on your OMTech Laser machine, then adjust based on your project needs. For delicate materials like wood, a lower power for engraving suffices, while metal might require a higher engraving power level. Always test on a sample piece first.
Q: What if my engraving isn’t as sharp as I expected?
A: You may simply need to adjust the laser intensity and power. With each cut, ask yourself: do I need to increase the laser power for deeper cuts? or I may also see that I need to reduce the laser power to avoid burning. It's a balancing act that uses the power setting guide as a reference and best results will come when you (gently) adjust each time.
Q: How can I have consistent results on both wood and metal?
A: Your consistency will come with understanding your machines laser power settings and adjusting the machine's optimal laser power for each material that you use. Regular maintenance, cleaning, and recalibrating of the OMTech Laser machine use in mind the proper power control settings for laser power for marking and power for cutting.


