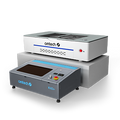
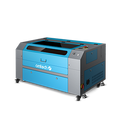
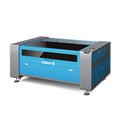
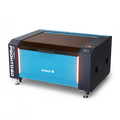
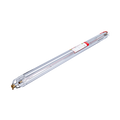
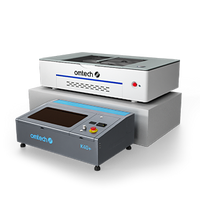
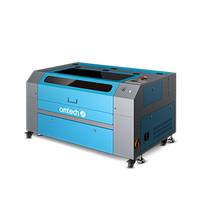
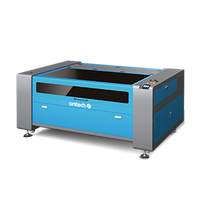
How OMTech Laser Color Marking Turns Ordinary Materials into Eye-Catching Art
Laser color marking has really captured the maker world, and rightly so. With OMTech Laser's innovative technology, something as mundane as a metal plate or basic piece of wood is transformed into a color-filled, detailed work of art. It's not just engraving anymore; it's adding colors, dimensionality, and character to your project all with one machine.
And best of all? It's pretty easy! Whether you are a business or home crafter, OMTech's interface is inviting and their laser machines are reliable to help create your visions whether that be logos, patterns or truly show-stopping colorful engravings.
The Basics: Laser Engraving and Color Marking
We all understand that laser engraving is fantastic for precision and detail, but what if you want more than black and white etching? That's what color marking is for, and with OMTech's laser systems, not only can you add color, but it's more achievable than you might think. Here are the details on how it works:
• Laser Engraving Precision: OMTech's machines have incredible accuracy and speed for making detailed designs, and you know the designs are sharp and consistent, whether you're etching a complex graphic or a serial number of a few millimeters.
• How Color Marking Works: So how do you add color with a laser? Color marking does not have a painting or printing process, but instead uses laser energy to modify the surface of the material to cause color to be added to the engraving. The lasers heat the surface and change the composition of the material or change the way light reflects off the material, showing a color shift.
• Every Material is Different: Not all materials will react the same. You can get great blues and browns in stainless steel, and even brightly contrasting colors in some plastics. And aluminum is a great place for vivid engravings--if properly done.
What Makes OMTech Laser Stand Out for Color Marking
If you've ever spent time adjusting the laser setting to get a result that pleases you, then you'll see how OMTech helps eliminate the hassle of adjustment. Their systems have lots of intelligent features to help you define the perfect aesthetic effect you're looking for without all the pain-staking fine-tuning.
• Precision Adjustment: Adjust your laser's power, speed and focus to adjust how your material will react. Think about it like adjusting a flame on a stove. Too hot or too low and you may not cook your food correctly. Just right, and you'll have magical results.
• Works on different materials: OMTech's systems replicate incredibly reliable and consistent results whether you are color marking on stainless steel or contrasting difference on acrylic material. This means you get less test iterations and more finished pieces that match your vision.
• User Friendly and Intuitive Software: The proprietary software is easy. Load your artwork, select whichever material profile you've prepared, and ride along and the system will walk you through the rest! No guesswork involved!
• Accommodating for New Techniques: From traditional laser etching to modern, technology allows for 'color' effects, you have a versatile tool for your skill progression wherever it may go.
With all these features between the machines and software, experimentation can be enjoyable! Making it more likely your final product looks polished and professional without the pain points of worry.
Getting Started: A Simple 5-Step Guide to Engraving Wood
New to laser engraving? Wood is a great introduction material because it is forgiving, easy to obtain, and pretty enticing. Let's take a look at the basics using an OMTech laser machine:
1. Choose the Right Wood
A fine-grained wood is best. A simple, smooth piece with a consistent grain like maple or birch would work well. The fewer knots and imperfections, the better cleaning up you can do through the engraving.
2. Choose/Create Your Design
You will need a vector-based program to make your engraving. When you save it, make sure your format works with OMTech's useable designs. Clean sharp lines with a good vector will give you a better engraving.
3. Set Up Your Machine
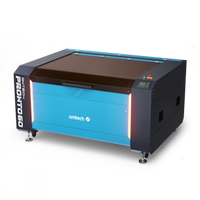
Put your wood down on the laser bed. Ensure you have the right settings for power, speed, and depth. OMTech typically has material presets to pull from, so you don't have to start from scratch.
4. Run Your Engraving
Click start! It will be fun to watch your project take shape. It is pretty cool to watch the laser move across the wood in precise patterns. Stay nearby so you can stop or alter settings, if needed.
5. Finish
Once it has finished removing your piece, carefully remove it from the table. Use a soft brush to remove dust or char. Optionally, use an additional product, such as a clear coat finish or oil finish to bring out the grains.Mastering wood engraving lays a solid foundation. Once you’re comfortable, you’ll be better prepared to tackle trickier materials like metal or acrylic.
Working with Other Materials: Metal & Aluminum
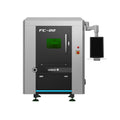
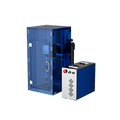
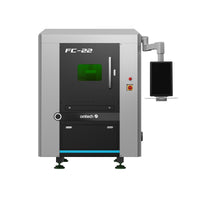
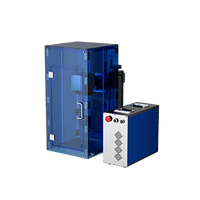
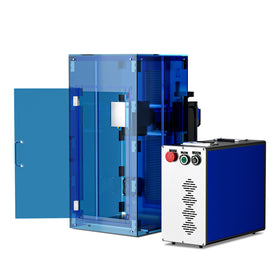
Now that you’ve learned the fundamentals, it’s time to move on to more advanced applications—and OMTech’s fiber laser machines provide the opportunity to do so. Fiber laser machines offer precision and durability for engraving or color marking on more challenging substrates such as metal and aluminum.
Color Marking on Metal: For information on stainless steel or anodized aluminum, fiber lasers provide the opportunity to find a sweet spot of power intensity to produce colors like deep blues, golden yellows, and purples. These effects lend themselves nicely to custom nameplates, industrial tags, or sleek branding that stand apart from the competition.
Color Marking with a Laser on Aluminum: While aluminum is lightweight and durable, it is an interesting material under a fiber laser because it can become a substrate that produces bright color. By tweaking your laser's power and speed settings, you can excite different surface tones on aluminum and even create incredible effects that seem to glow.
Different metal types also behave differently, so don't be afraid to try. Try different settings, make tests on scrap, and keep notes. That's where you will learn and where your most creative designs will come from.
FAQ: Answers to Your Color Marking Questions
Q: How do I generate color with laser engraving using OMTech?
A: It all comes down to heat and precision. It's all about setting the laser's power, speed, and focus. By changing how the surface reacts to the laser, the material will reflect the light, meaning you can produce everything from subtle to bold colors. You may only do some testing, which is worth the effort.
Q: What advice can you give to beginners?
A: The best way to learn is to use wood! Once comfortable with the process, practice on scraps of metal so you can adjust for speed and power. Keep a notebook of all the information for everything you make. Do not rush the process! It is easy to move to the next step; however, mastery is achieved through time and practice!
Q: What is the difference between a CO₂ laser and a fiber laser?
A: A CO₂ Laser is great for solid non-metals like wood and acrylic but not for bare metals. Conversely, fiber lasers are built for metals—fast and accurate while not requiring special coatings to mark materials like stainless steel and aluminum.


