Laser Engraving Leaves: A Nature-Inspired Craft Guide
Leaves may not seem like the most obvious material for laser engraving, but with the right setup and care, they can be transformed into delicate works of art. Whether you're looking to add a natural touch to table decor, signage, or creative crafts, leaf engraving is an eco-friendly and eye-catching way to bring nature into your projects.
In this guide, you'll learn how to select the right leaves, prepare your files, fine-tune your machine, and achieve clean, high-quality results. Let’s dive into this nature-inspired technique!
Choosing the Right Leaves for Laser Engraving
Successful leaf engraving begins with selecting the right type of leaf. Always opt for fresh leaves—dried or brittle ones tend to crack, burn, or crumble under the laser. Fresh leaves retain internal moisture, helping them resist heat and maintain their shape during engraving.
Flat, broad leaves with smooth surfaces work best. These are easier to secure to the laser bed and provide a uniform surface for your design. Magnolia, maple, and aspen leaves are popular choices thanks to their size and structure. Avoid curled or highly textured leaves, which can affect laser focus and produce uneven results.
Before engraving, gently wipe the leaf with a damp, lint-free cloth to remove dust and residue. A clean surface ensures even contact and better engraving clarity.
Setting Up Your Laser for Leaf Engraving
Leaf engraving requires low power and high precision. CO₂ and diode lasers are well-suited for organic materials. Make sure your laser bed is level and clear of debris. The leaf must lie completely flat—any wrinkles or curling can throw off the focal point and cause burn spots or skipped areas.
A honeycomb or perforated base plate allows airflow beneath the leaf, helping reduce scorching. If your machine features autofocus, use it to dial in the perfect focal height for your engraving surface.
Ideal Laser Settings: Balancing Power and Speed
Start with a 10W diode laser using these general parameters:
-
Speed: 5,000 mm/s
-
Power: 100%
These values may vary depending on your machine and leaf type. The high speed helps prevent heat build-up, while the full power ensures the design is marked clearly.
Always begin with test engravings on spare leaves. Gradually adjust your settings until you achieve clean, visible results without overburning the edges.
Designing for Leaf Engraving
Laser engraving on leaves is perfect for place settings, name tags, bookmarks, or botanical illustrations. Raster engraving mode is ideal for text and shading, as the laser scans line-by-line to burn pigment gently. Avoid vector cutting—it’s usually too aggressive for fragile leaf material and may slice through it.
Keep your design well within the leaf’s natural borders. Avoid pushing details too close to the edges, where the material tends to be thinner and more vulnerable to burning.
Step-by-Step Leaf Engraving Process
-
Collect fresh leaves and store them in a lightly humid container if you're not using them immediately.
-
Clean each leaf with a soft, damp cloth to remove debris.
-
Place the leaf flat on the laser bed and secure it using tape, magnets, or a mesh sheet.
-
Upload your design into your laser software and align it with the leaf using the preview function.
-
Set your initial parameters to high speed and moderate power.
-
Perform a test engraving on a spare leaf to refine settings.
-
Run your final engraving, making sure the leaf stays in place.
-
Remove the leaf carefully using tweezers or a flat tool to avoid tearing.
-
Optionally preserve the leaf by pressing it in a book or sealing it with clear acrylic spray.
Finishing and Preservation Tips
Engraved leaves are perfect for temporary uses like gifts or event decorations. However, if you’d like to preserve them, press the leaves between two sheets of parchment paper inside a heavy book for several days. This will flatten and dry them evenly.
To protect the design and prevent fading, consider applying a light coat of clear acrylic spray. If you’re framing the leaf, use acid-free materials and display it away from direct sunlight to maintain its appearance.
Why Laser Engrave Leaves?
Laser engraving leaves isn’t just a novelty—it’s a truly creative and eco-conscious craft. A simple leaf becomes a stunning canvas for personal messages or intricate artwork. It’s a rewarding project for artists, event designers, crafters, and small business owners alike.
This technique also helps build your engraving skills. Since leaves are thin and detail-sensitive, they teach you to master laser power, speed, and focus—valuable knowledge that applies to many other materials.
Start Your Leaf Engraving Journey with OMTech
Engraving leaves with a laser may be delicate work, but it’s accessible and rewarding with the right approach. When you pair fresh materials, creative design, and a reliable laser, the result is a one-of-a-kind botanical creation.
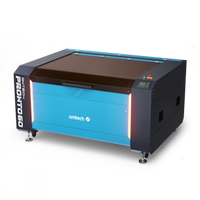
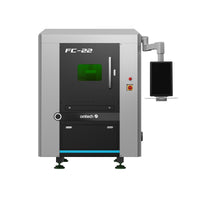
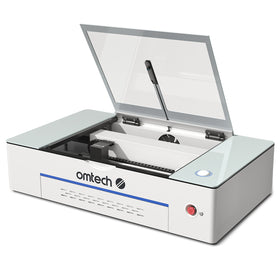
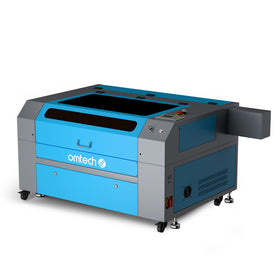
Ready to bring your ideas to life? Explore OMTech laser engravers—trusted by creators across the world for their quality, versatility, and precision. Whether you're working with organic surfaces or harder materials, OMTech offers the tools to elevate your craft.


